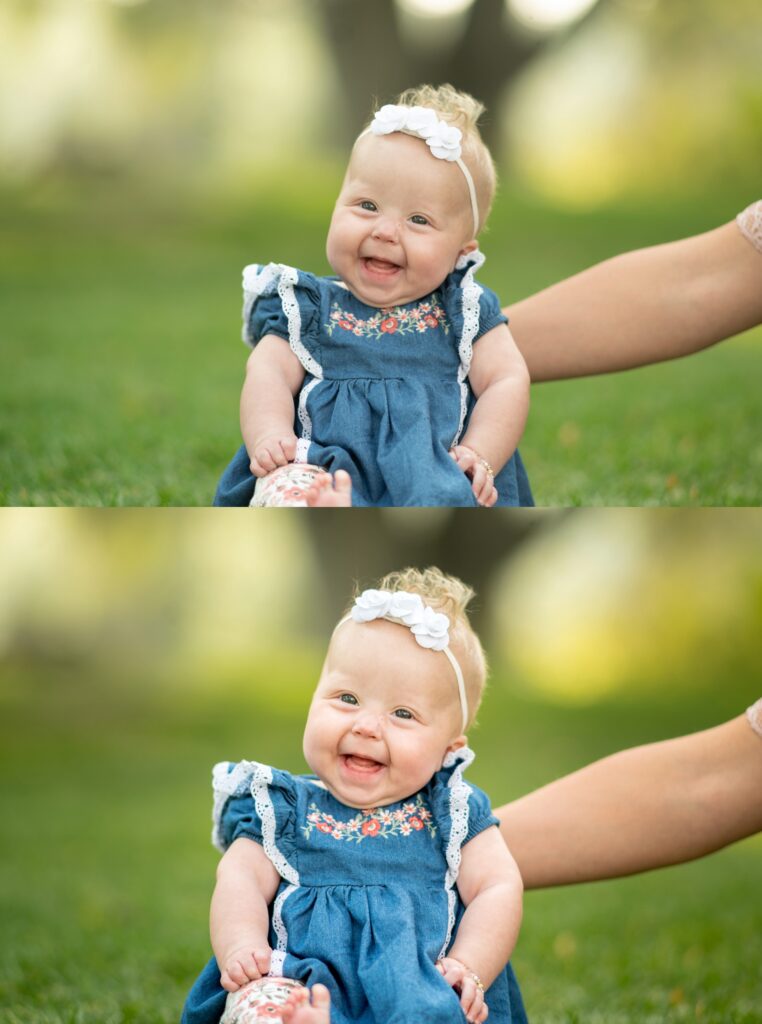
Alrighty, friends! It’s here! My very first preset–and I’m literally giving it away!
This preset is the basic edit I use on all of my photos. Sometimes I’ll do more, but I always start here.
As with any preset, you’ll probably need to make adjustments. Pull the exposure slider up and down to brighten or darken the overall image. Pull the contrast slider up for more contrast, down for a softer image. Pull the temp slider up to warm the image, and down to cool it off. A preset should be a starting point, not the automatic finished result!
As I show in the video below, this preset is unique because it includes radial filters. Click on the radial filter (circle at the top right of the editing screen), and you’ll see 2 dots appear on your image. One dot will place an edit on your subject, the other will place an edit around your subject. Hover over the dots to know which is which, whatever shows up red is the area that is being edited. When you click on either radial filter, you will be able to edit the edit area of the filter.
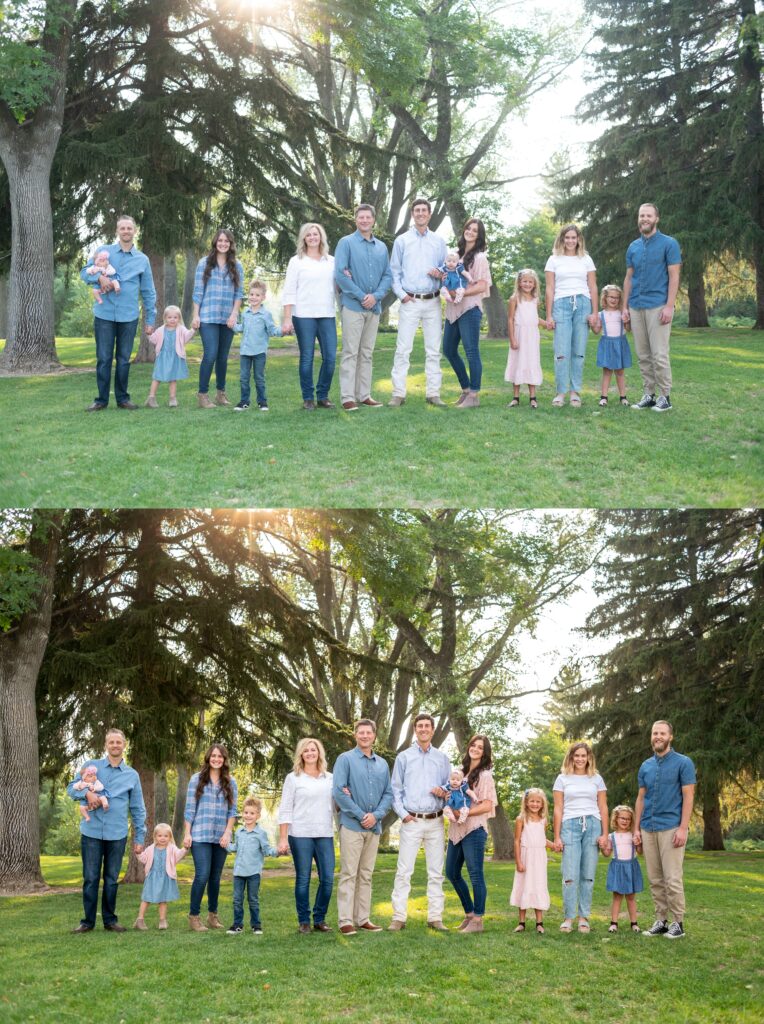

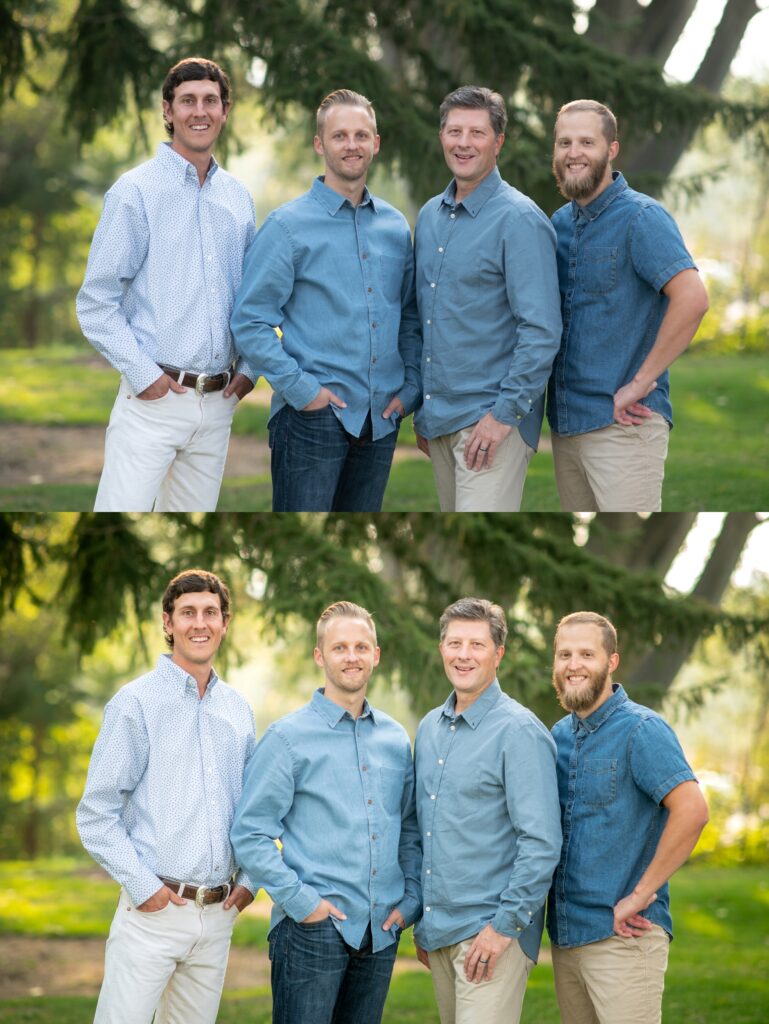
Please note that this preset is currently only available with the desktop version of Lightroom.
A mobile version will be available shortly!
